Skip to content
Subscribe to stay up to date on all projects!
Freebies, Printables, and More!
HOME
MEET ME!
PORTFOLIO
SHOP
BLOG
CONTACT
Access my FREE Crafters Library!
Search
Toggle Menu
Blog
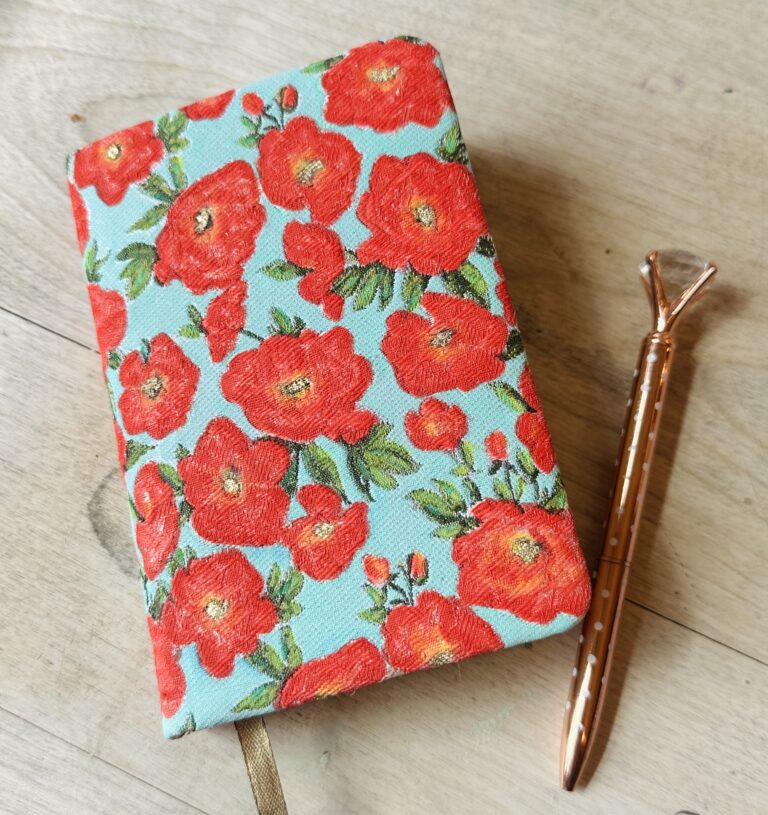
Paint a Notebook Idea
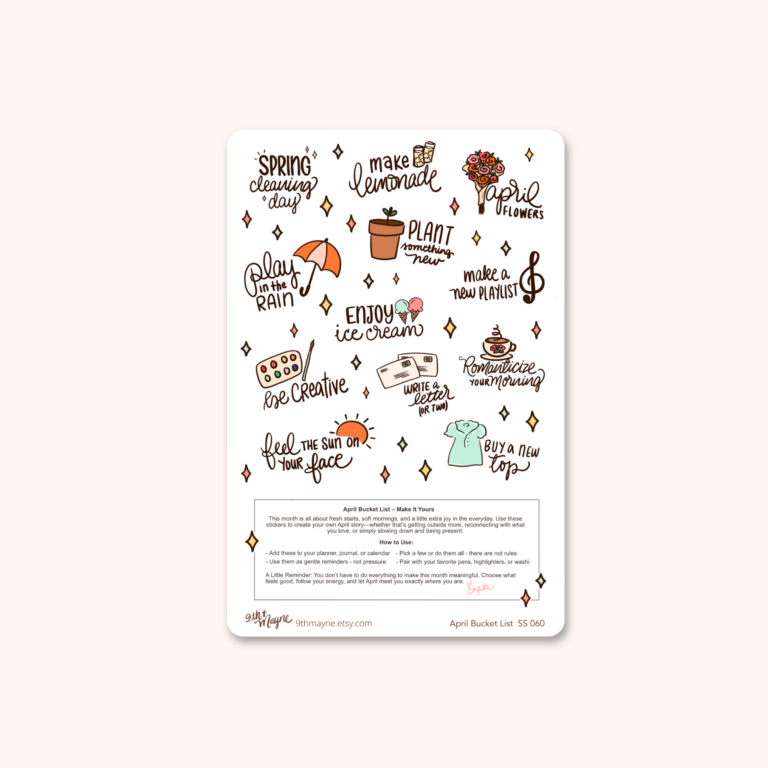
New Release: April Bucket List
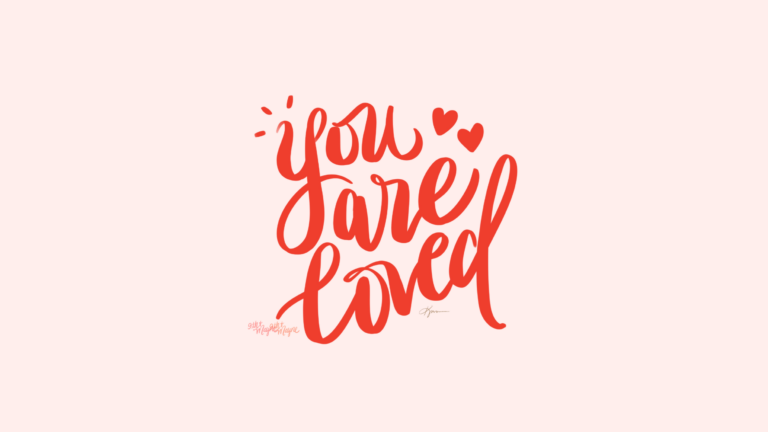
February Wallpapers for Desktop & Mobile
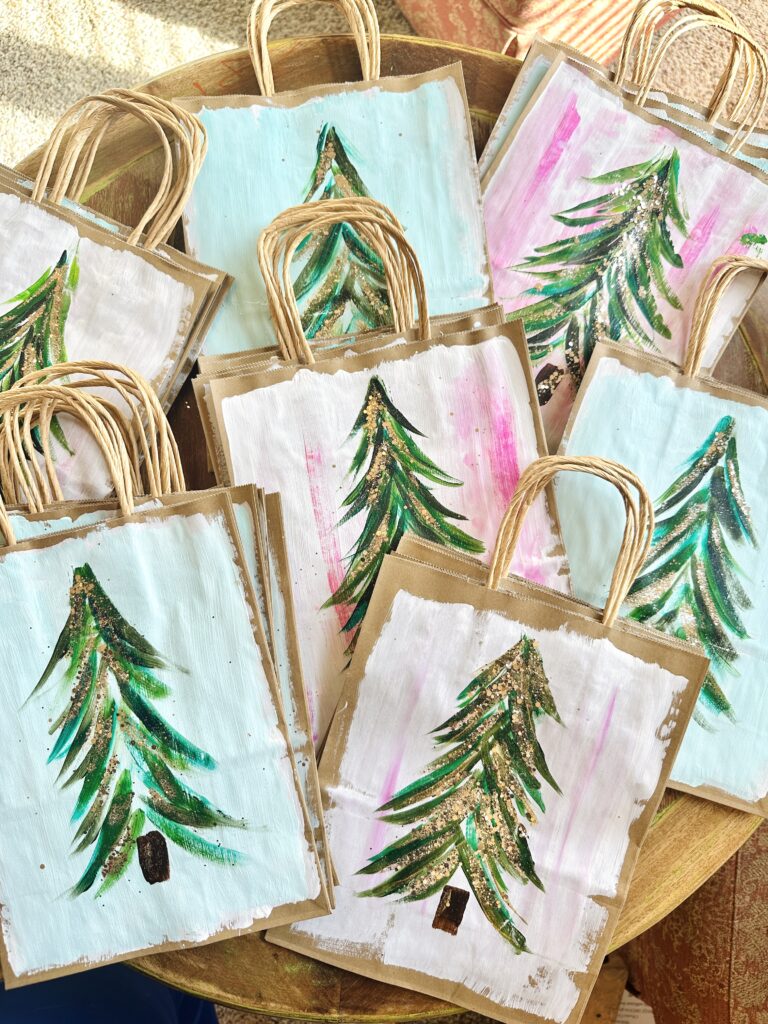
Painted Holiday Watercolor Paper Bags
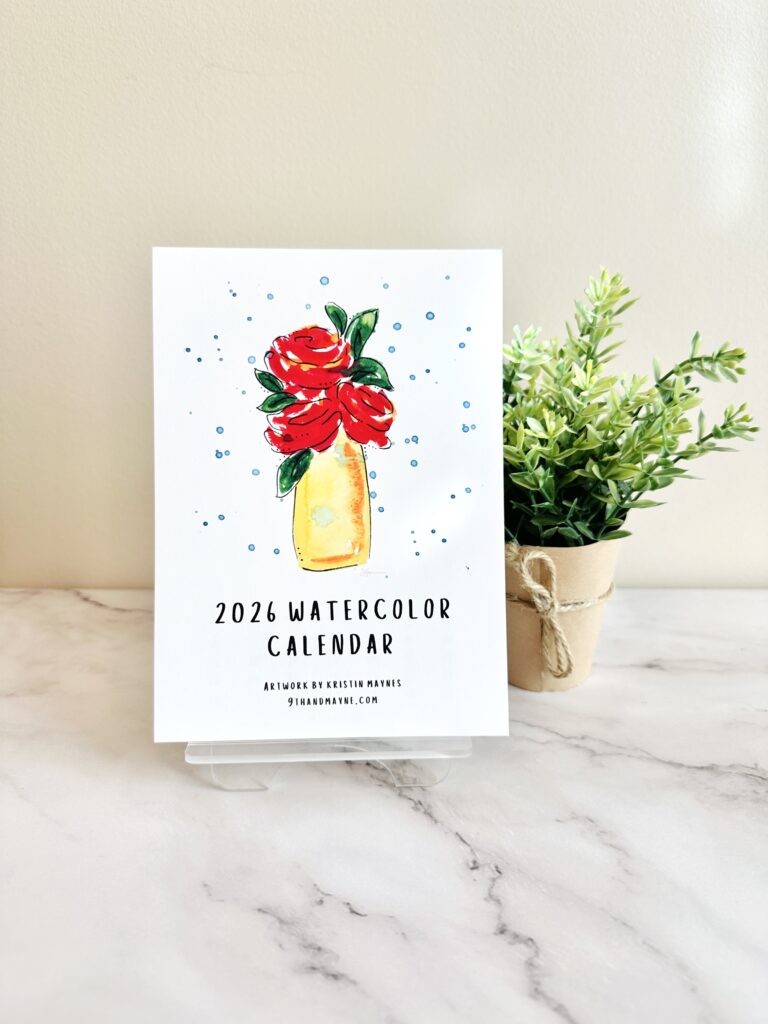
2026 Watercolor Calendar
Introducing The Art Bloom Studio
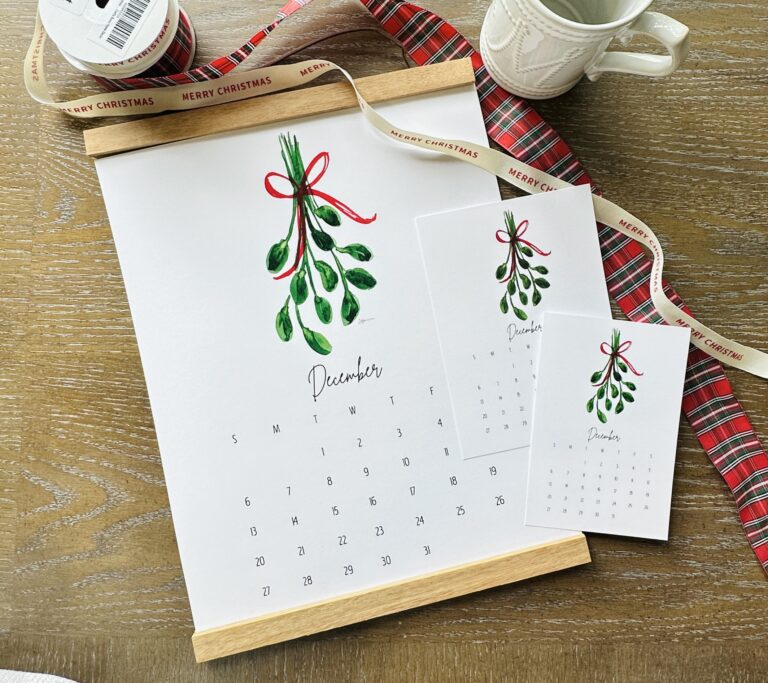
11×14 Watercolor Wall Calendar
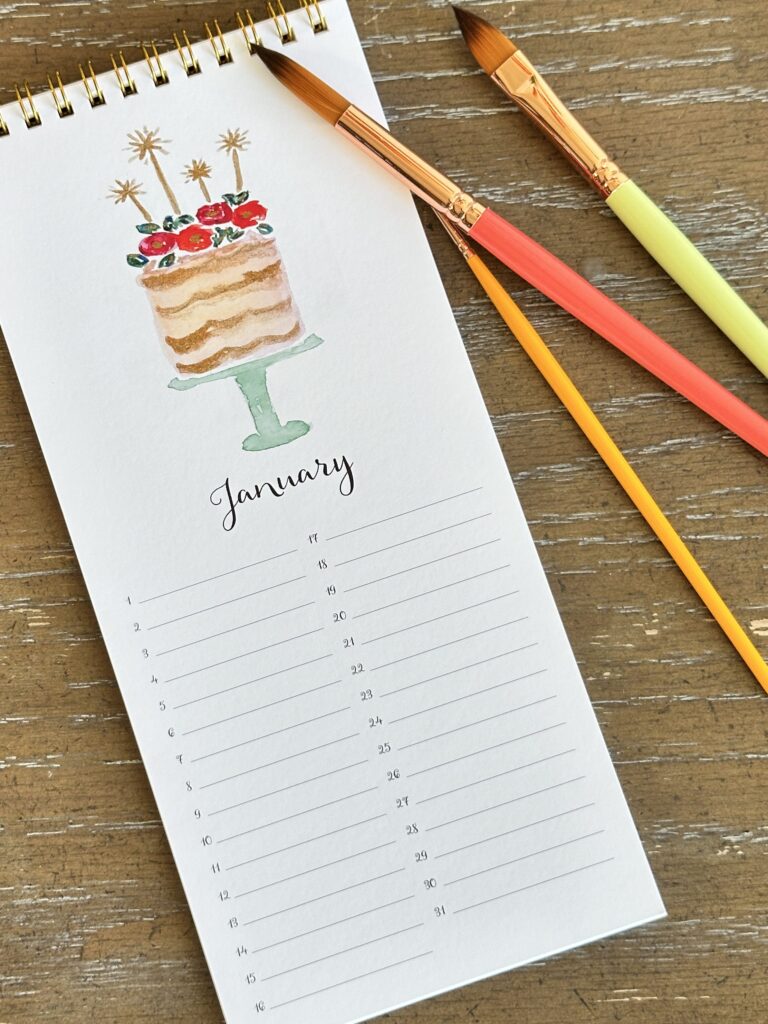
Watercolor Perpetual Celebration Calendar
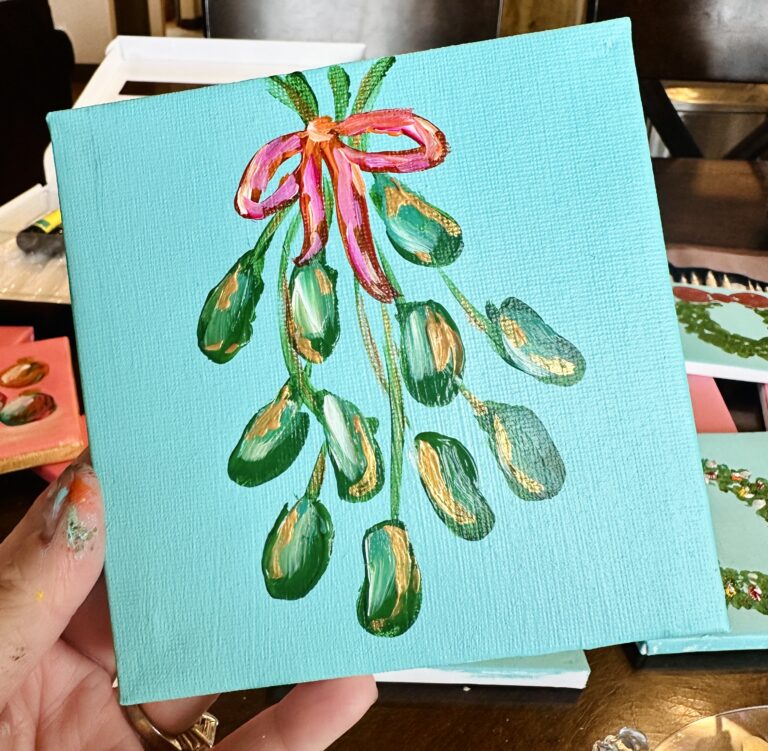
New Project – Watercolor Cakes
Oopsie 2025 Calendars 4×6 and 5×7
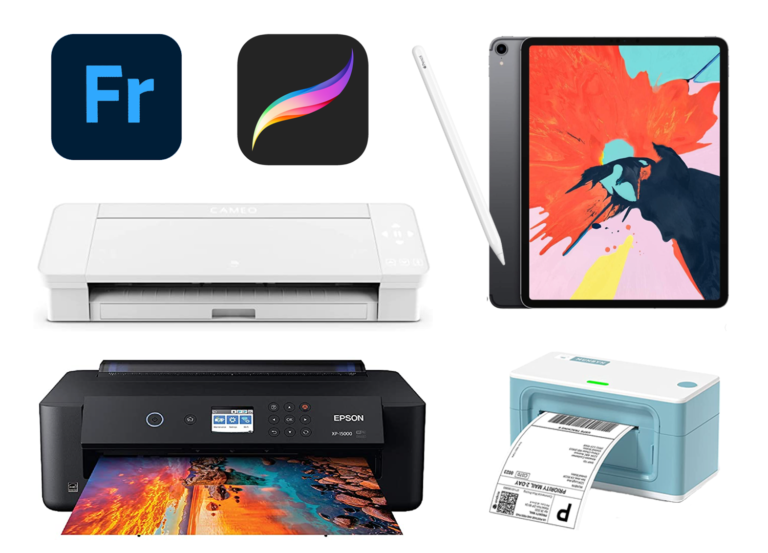
Supplies I Use to Create Stickers
I Love Camping Sticker Kit
Page navigation
1
2
3
…
8
Next Page
Next
Scroll to top
Scroll to top
SHOP
BLOG
CONTACT
Check out all the Crafted Features
Toggle Menu Close
Search for:
Search